"The Art of Designing Cardboard Stencils for Unique Spray Paint Projects"
Spray painting is a fun and creative way to add some new life to any
room or outdoor area. However, sometimes it may be hard to achieve the
exact look you would like without the usage of stencils. Making your own
personal stencil may appear just like a daunting task, but with the
right tools and a little creativity, you can easily produce a unique and
personalized stencil for the spray painting projects. In this ultimate
guide, we shall feel the steps to craft cardboard stencil that may
elevate your DIY game and impress your entire guests.
Step 1: Materials Needed
To begin, you will require the following materials:
Cardboard
An exacto knife or scissors
Spray adhesive
Ruler
Pencil
Printed image or design
Step 2: Choose Your Design
Selecting a design for the stencil will heavily rely on that which you are using it for. If you're looking to make a quote stencil for a material, you will want to pick a simple font and phrase. If you should be looking to make a pattern for furniture, you may want to choose an even more elaborate design. When you have your design in mind, print it out to the size you are interested to look on your own project.
Step 3: Trace and Cut
Take your cardboard and trace your design onto it employing a pencil. If your design occupies multiple pieces of cardboard, make sure to label them accordingly to easily put them together. When you have traced your design, carefully cut it out utilizing your exacto knife or scissors.
Step 4: Stabilize Your Stencil
Using spray adhesive, lightly coat the trunk of one's stencil with the adhesive. Be sure to evenly distribute the adhesive and allow it dry for a couple seconds. This can help stabilize your stencil and prevent it from moving around while you are spray painting.
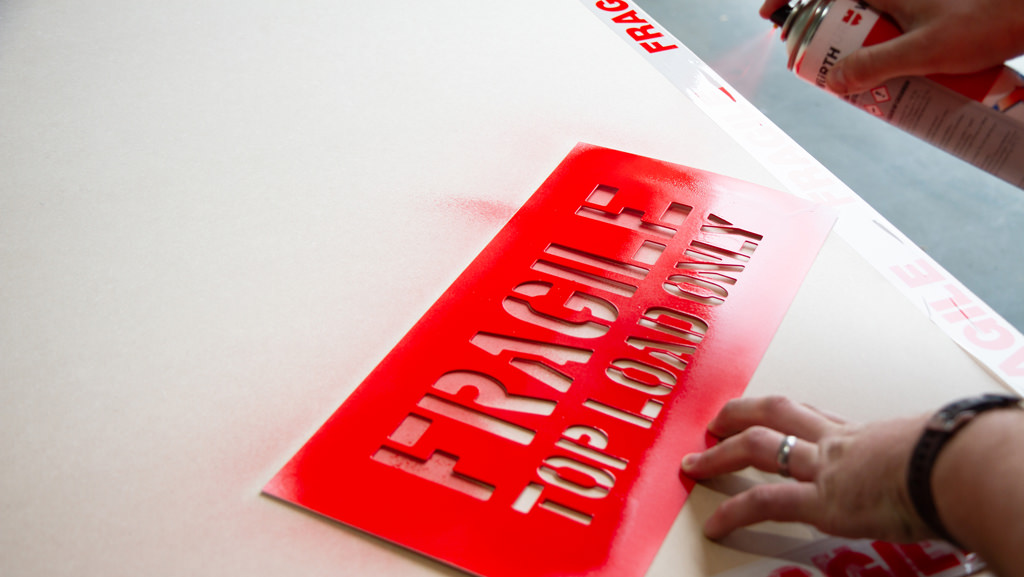
Step 5: Spray Paint
Place your stencil onto your desired project and begin spray painting. Ensure that you support the can at the least 6 inches from the stencil to avoid the spray paint from bleeding onto other areas. Once you have finished spray painting, carefully take away the stencil to reveal your design!
Step 6: Clean Up and Reuse
After you have finished making use of your stencil, be sure to carefully clean it off with soap and water. Once it's clean and dry, you are able to store it for later use or start creating new stencils with various designs.
Conclusion:
Creating your own personal cardboard stencils for spray painting can seem daunting at first, but with the proper materials and techniques, it can be quite a fun and easy project. Deciding on the best design and carefully tracing and cutting will help you achieve the actual look you want. With your new stencil, you will have the ability to elevate your DIY projects and impress all of your guests. So, grab your materials and start creating!
For more details please click on this kind of link cardboard stencil.


Comments
Post a Comment